How I became a food stylist/photographer, and my top tips for starting out!

I haven’t always been a food stylist and photographer. Sure, I’ve taken loads of photos of my food along my creative journey, but to me being a “proper” real life food stylist and photographer was a far off dream. And besides, I was an interior architect, running a plethora of creative businesses from retail homewares to the production of a natural fibre product, and interior design services. Food photography wasn’t even in the same stratosphere, or so it seemed. In fact I borrowed my friends DSLR one time because I had this vision of a magazine style party table scene that I thought I could pull off….and I called her about ten times asking how to use the camera in the middle of my “foodie shoot” before I gave up. So many settings! Who knew?! Clearly, not me.
It was always a dream however. A far off, ridiculously un-achievable dream as far as I imagined. I didn’t know how to drive a “proper” camera. I’d done all of my own styled product photography for my various businesses for years simply using a little point and shoot. Not even an iPhone camera because such things weren’t on my radar back then. I didn’t have a fancy pants studio or any fancy gear. Surely you’ve got to have a studio right??! And I didn’t live in a big city. Food photographers must live in big cities. Or so I thought.
Fast forward a few years and I STILL had the urge to capture gorgeous food scenes. I wanted what was in my head to become a reality. I drooled and day dreamed over foodie magazine spreads. Gazed longingly at incredible food blogs and poured over beautiful cookbooks - it was my dream to be able to create and capture such imagery. I was already creating the dishes, and had been for many years. Always a foodie at heart, I’d gone through the phases of wanting to open up a wholefoods eatery, to a take-out homemade dinner service, to designing a restaurant, and starting a cake company. My ultimate wish however was to be able to photograph my food, and in a way that really drew the viewer into the scene, that invited them to sit down at the table. A single image that evoked a sense of nostalgia, comfort and want, or awakened a long forgotten food memory, or made them want to dig in to the meal. That’s what I wanted.


Above: Client images taken in 2019.
So I wanted to be a food photographer, but how? I thought that meant: training to be a chef, or studying nutrition, doing a photography degree (at this stage I was regretting choosing interior over photography at design school), attending styling classes in Australia because I couldn’t find where else to study ‘styling concepts’, having a very fancy camera, and, more than likely, living in a big city and having a professional studio set up. I looked into chef studies and quickly balked at the idea (too much pressure!). I started studying two kinds of nutrition - culinary nutrition and nutritional science, through two different organisations. I finished culinary nutrition which was super fun and from memory a 16 week course online. It did help me in regards to recipe development should I ever want to be a recipe developer or write a cook book (of which I am now doing both), but the rest was all stuff I already knew from experience. I dropped out of nutritional science after three months into the two year programme because to be honest, I didn’t actually want to be a nutritionist.
At the time I couldn’t afford to fly to Australia to attend these weekend classes in styling. And I looked at doing some photography courses through our local Polytech but it just didn’t work with young children now in the mix. So I just continued doing what I was doing - running my business, doing my own product photography with my basic point and shoot camera, and me and my employee friend who was a design graduate having days doing what we called at the time “situational photo shoots” with her DSLR - and her operating it. We’d style up scenes in the temporary kitchen jig (normally in my front entrance) of my newly arrived products in action, host cute tea parties and picnics, create super styled scenes and minimally styled product shots - we had a load of fun and learned by doing. I used magazine spreads as my guide - seeing where they placed the main product in the shot, what kind of camera angles they used, investigating backgrounds and props, and in the process discovering straight horizon lines and the “rule of thirds”, although I didn’t know it was called that at the time. I just thought things should be off centre:


Above: Images taken for my various businesses, circa 2010
One Saturday morning in the middle of winter, I saw two sets of images on Facebook (this was pre-Insta food world) that totally sparked something within me and set my dreams in motion. One set of images was from Roost Blog - which sadly no longer exists - of BEAUTIFULLY and simply styled waffles, honey and a chemex coffee maker, all in a very dreamy, rustic, white table setting. This is when my love affair with the chemex coffee maker began by the way. There were lovely close up shots with gorgeous depth of field, as well as some wider shots with lots of negative space. They inspired me so much that I still remember them vividly, and I emailed the creator Caitlyn at the time, to tell her so. The other images were of a behind the scenes of a shoot for a food magazine. I was shocked, well pleasantly surprised actually, to see the stylist with a few planks of rustic timber on her dining room floor, right beside a set of open french doors for natural light, and her standing over it observing the scene which was a tabletop setting. No way I thought. The pros actually do this? Come on. I thought it was just me and my amateur-ness that staged pretend tables on the floor or on my dining table! I analysed EVERYTHING in that scene. The tripod, the cord from the camera to the laptop, the use of fabric, the direction of the light, how the utensils were placed….and on this rainy Saturday morning in June of some year in the 2000’s, I had my eureka moment.
I could do this.
I was already doing it.
But I could do it “for reals”.
I researched, and bought myself a mirrorless camera and a 25mm f1.4 lens (the equivalent to a DSLR 50mm lens - the ideal starter for food photography) and I just threw myself into mastering it. I used it at every opportunity, and created styling opportunities for myself - so I’d make a “thing” out of dinner, or even breakfast - basically I started styling and shooting all of our meals, and everything I bought from the farmers market, and everything that came out of my oven. I’d make cakes, cupcakes, cheesecakes, donuts, soups, muesli - anything to practice styling and photography. Basically every time I did something I pretended I was a real life stylist, shooting a cook book or something.
I also started posting my images on Instagram, and gosh, looking back at those early photos I absolutely cringe! Firstly, Instagram five years ago was exactly what the name suggested - Instant gram. It was all about the quick shot, in the moment, literally “snap and go”. I used the vintage filters and borders that were so very cool back then, which I realise now completely destroyed my photos! Insta progression, 2013 - 2015:


I analysed my favourite images on Pinterest, blogs, in cook books and magazines, and the images that started coming out on Instagram. I analysed every little detail. My own images were okay, but lacking something. That’s when I started delving into the depths of the internet to find out about composition in photography, using natural light, colour theory, and camera settings. I consumed a LOT of information and every day kept practicing. I learned how to shoot comfortably in manual mode - and this was a game changer!
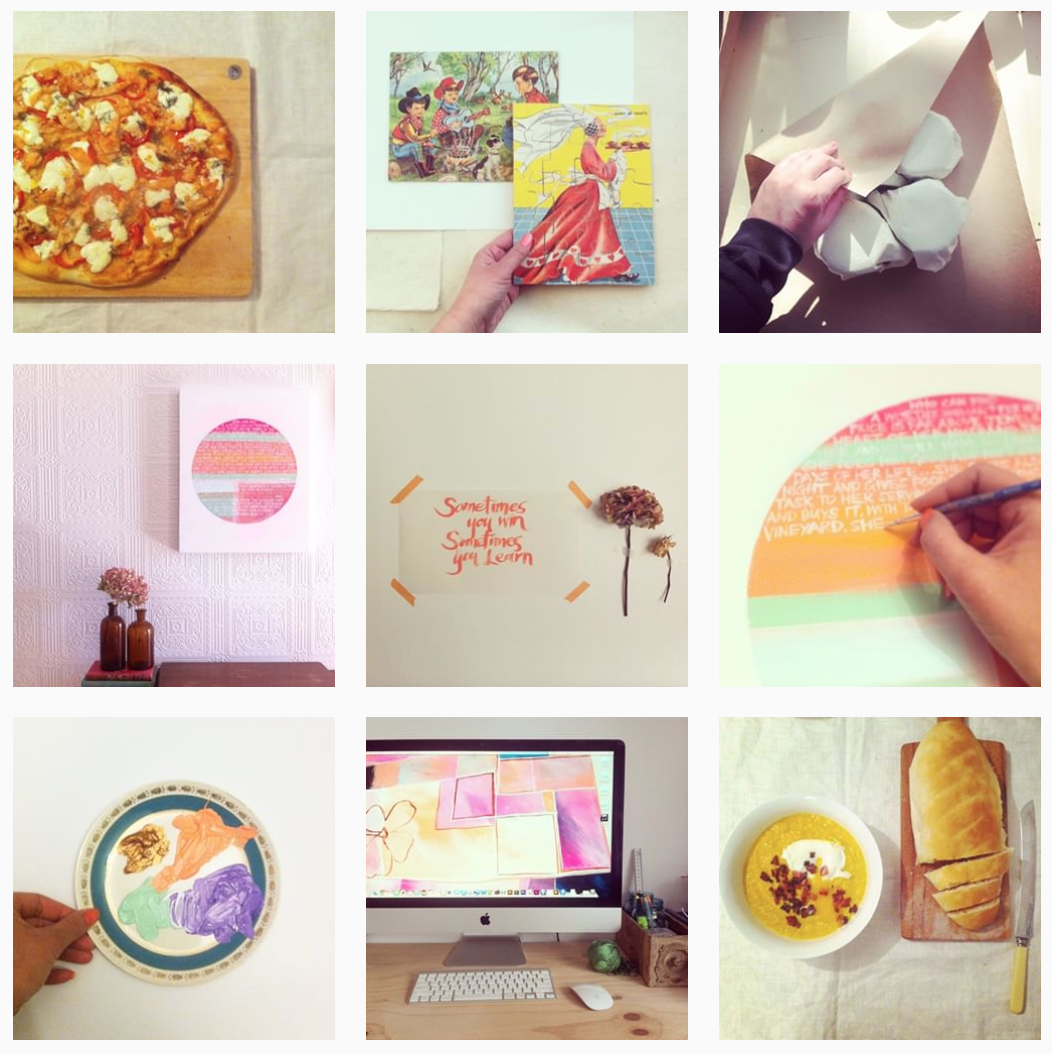
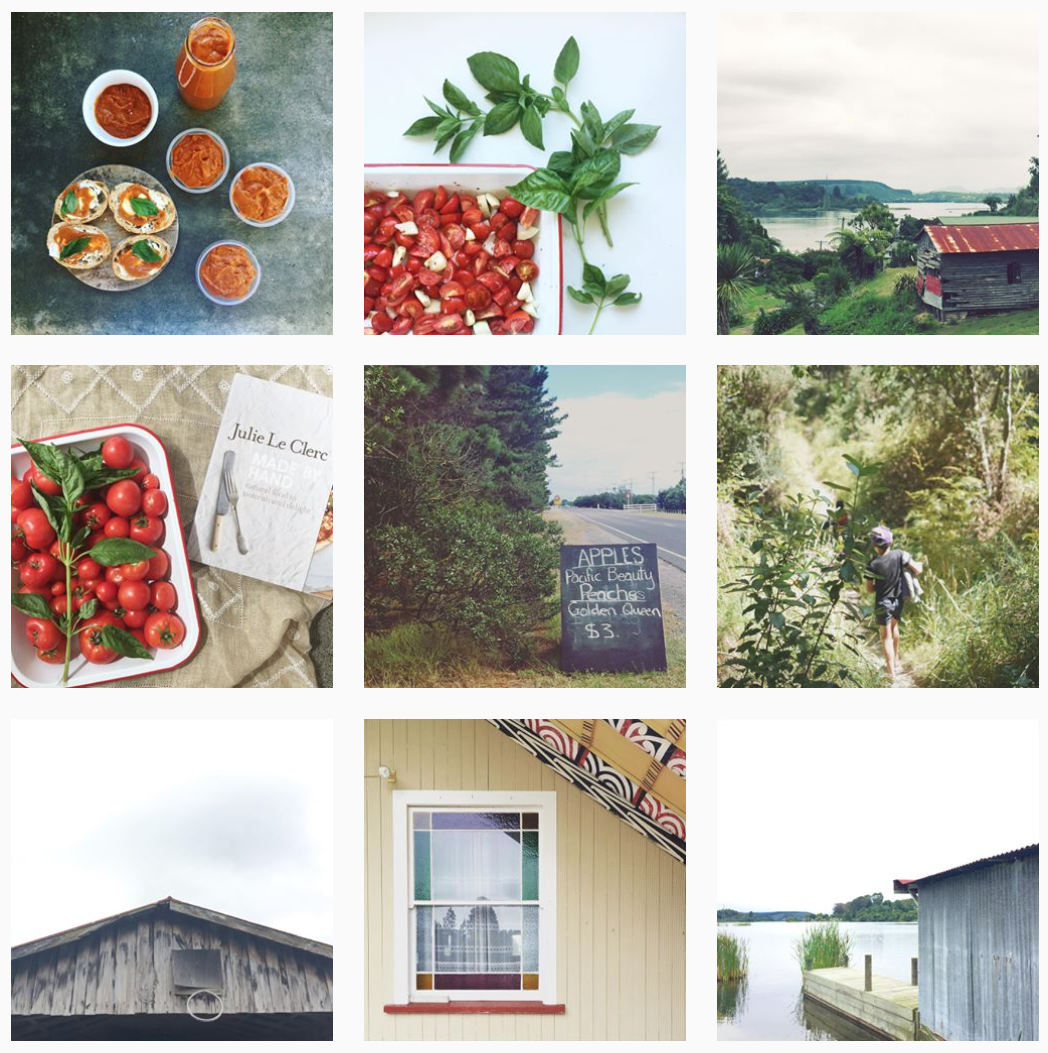
Then I decided to start treating Instagram more like a living portfolio - that is, a showcase of my best images, and things that inspired me, mostly landscapes and the sea. I started entering all sorts of online styling challenges just for fun, but also so that I could use the theme as a sort of a brief, and see what I could come up with. A pretend client if you like. I loved the challenge of being set a brief, and coming up with images that were uniquely my style. When I started treating Instagram as a portfolio, showcasing my best personal work, and using appropriate hashtags for reach, I got my first “real life” styling jobs. And to this day, every single one of my clients has discovered me via Instagram. EVERY SINGLE ONE.
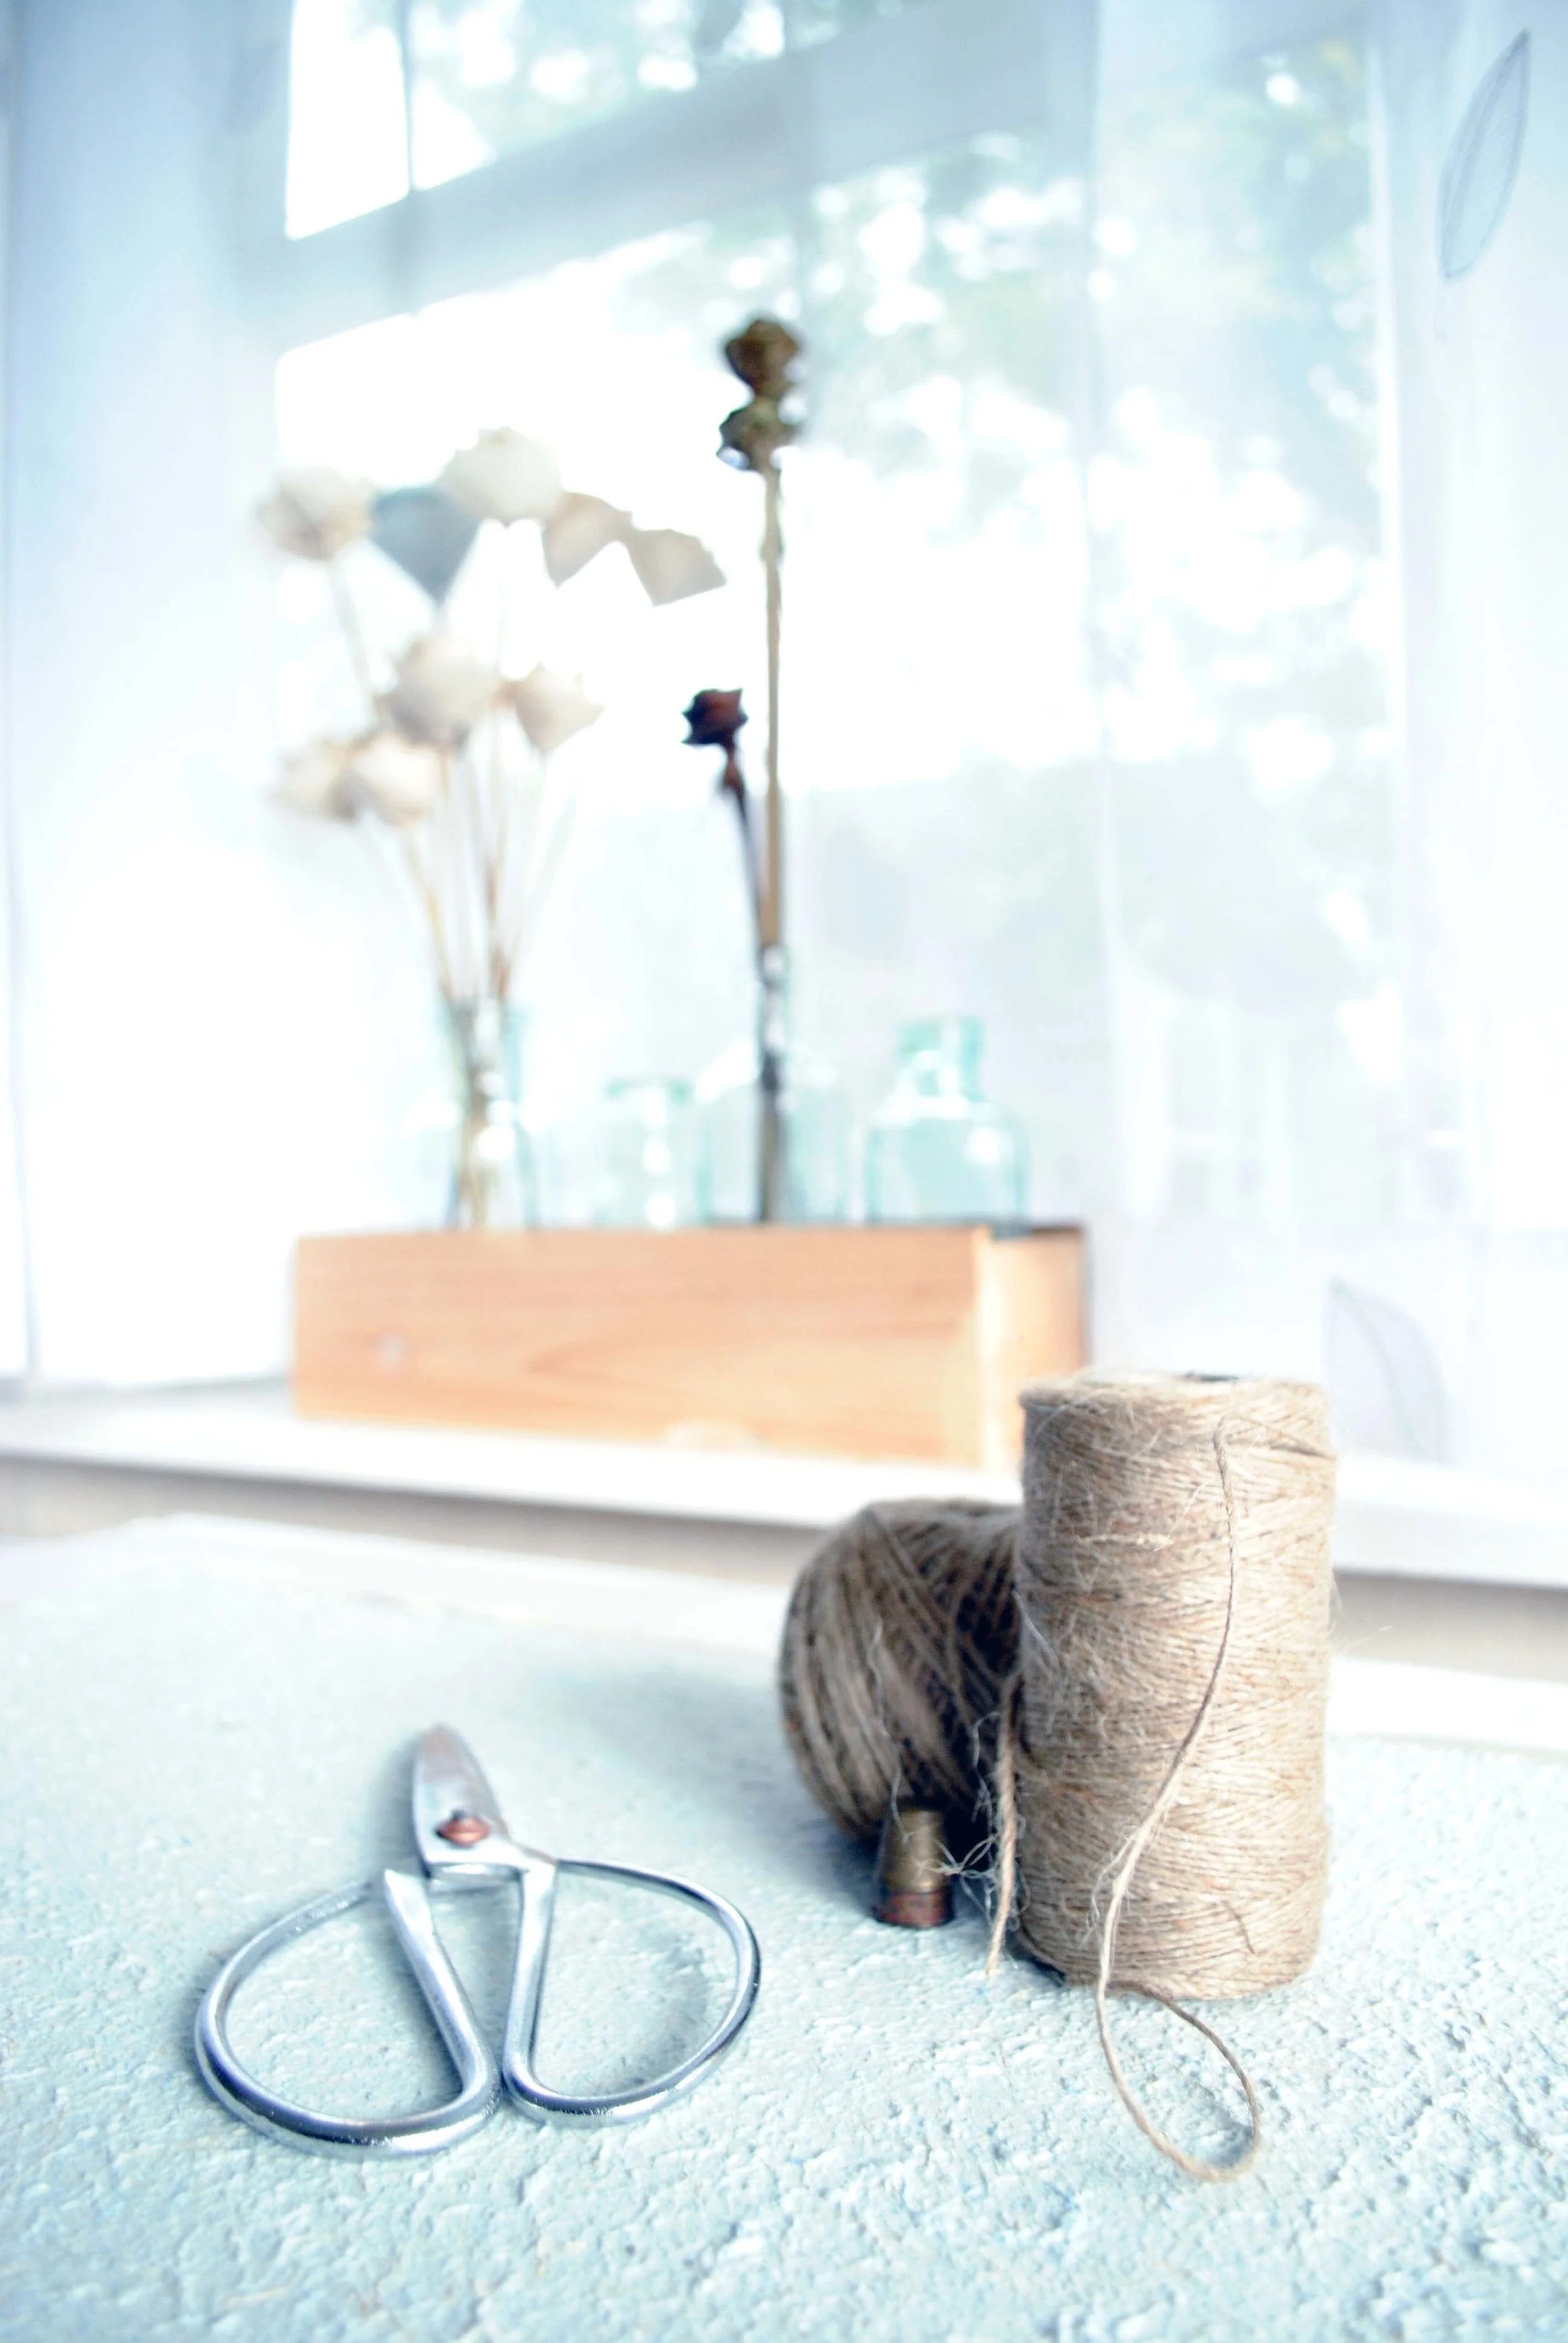
My first job was for a small business, styling and photographing their natural healing balms. I photographed them in a semi casual setting, on my concrete benchtop at home. Then I was asked to submit some recipes and images for a cookbook fundraiser, and I REALLY had fun with this. From here I got multiple product styling jobs via a few content creation agencies, including food product - I was finally getting closer to my dream! I’d style and photograph my heart out, always producing more than the brief required so that I had plenty of content, and got to experiment with different settings and styles. And as always, I would share the cream of the crop on Insta and my website. Building that portfolio! It was when I was approached by a major food company here in New Zealand (the marketing administrator followed me on Instagram) that food styling and photography became a full time gig. One big thing lead to another big thing, and soon I had work coming out of my ears. Large food companies needing product shots and recipes photographed, chefs wanting me to shoot their menus, artisan food producers needing captivating imagery, publications needing foodie events shot, small businesses needing recipe development and images for marketing….It just hasn’t stopped. Editorial style imagery is definitely my favourite. I just love doing what I do.
All because I followed that dream that seemed impossible, and researched and practiced, and practiced some more, and put myself and my work out there for the world to see.


MY TOP FIVE TIPS FOR STARTING OUT:
Practice practice practice. Shoot everything! Give yourself a brief and grab the ingredients and shoot. Learn by doing, by experimenting, and from mistakes. The best way to learn is to do. I can give you the guidance you need - my online course is almost ready (!!!), but in the meantime I offer one on one coaching sessions online. I’ve put together everything I’ve learned over the years SPECIFIC to food styling and photography, so that you don’t have to trawl through the depths of the interwebs like I had to!
Build up your essential backgrounds. So many things can be a suitable surface for styling food. Sometimes you need to look at things with a new set of eyes, and also realise that the camera itself has a different set of “eyes” as well. What might look like a simple piece of timber may translate beautifully through the lens, so don’t be afraid to try things out. Try printed, hand painted or textured backdrop boards (use acrylic paint test pots painted roughly onto MDF boards or canvas fabric), printed vinyl backdrops, large floor tiles from your tile store, rustic panels, old wooden doors, weathered desk tops, or rusty sheet metal from the recycle yard. Look for lots items with lots of patina - natural wear and tarnish, that will create interesting and detail rich backdrops.
When selecting wooden items for backdrops make sure the wood isn’t too orange - orange hued backgrounds often make food look unappetising. Opt for cooler tones especially with backdrops and props, and if that’s not possible you can always alter the temperature of your image in editing.
Even look around your own home for possible backdrops to make use of - concrete back door steps can be sprayed with water or rubbed with cooking oil for a polished concrete appearance, your concrete path with its cracks and imperfections, your deck with its weathered timber!Put your best foot forward. Share your best work on Instagram and on your blog or website. Treat these as your portfolio - Instagram is usually the first place someone will find you, followed by linking to your website or blog. You want to capture them before they even have a chance to scroll. And as they scroll, you want to wow them.
Get comfortable with manual mode on your camera. It doesn’t really matter what camera you have, whether its an expensive or not so expensive DSLR, or mirrorless - it REALLY IS how you use it. And by that I mean, how you use it in manual mode. Shooting in manual, and in RAW, will change everything. Your images will go from flat to having so much more depth and mood. I’ll show you how if you want! Ooh and my go-to lenses for food styling are the 50mm f1.4 and the 100mm f2.8 macro (for Canon, but other camera makes have their equivalents).
Stick to the three main angles when shooting: overhead, straight on, and 3/4 angle.
Overhead - otherwise known as a flatlay. Make sure the camera is dead straight, perfectly horizontal, not off on an angle. Straight overhead, and a wide crop allowing plenty of “breathing space”. You can crop smaller in editing. Getting too close to the scene can cause lens distortion (depending on what kind of lens you’re using) and make everything appear out of shape. Make sure your light (I always use natural light from windows) is coming from the side or top of the scene. Otherwise your shadows will fall the wrong way (they’ll be above your dishes) and your image will look upside down! Overhead shots are great for capturing detail you might normally miss looking at the food straight on - like cake decoration, spaghetti swirls, cereals etc, and for really showing off ingredients with multiple dishes.
Straight on - as with the overhead shot, make sure the camera is straight on and at the right eye level, ie. usually at the same height as the main subject. Make sure your horizon line if you have one is straight. Side light is best, but if you need to lighten up the dark side, simply use a white bounce card on the opposite side of the light source - it will bounce light back onto the dark side - magic! Straight on shots are great for action shots, and shots where the subject has a bit of height such as a cake, burger, or stacked food.
3/4 angle shot - a bit more tricky due to lens distortion, and the fact that it’s very easy to make it look like all the dishes are sliding off the table. We certainly don’t want that look! Usually shot at an angle of between 25 and 75 degrees, commonly around 45 degrees. It’s a versatile angle as it shows the front, top and sides of the dishes, as well as foreground and background objects.